I hope you are all well. As promised I said I would be back with how I made my other Create a flower samples, so here we go... I'll try not to waffle too much ( that would be a first! lol.) There are lots of photos.

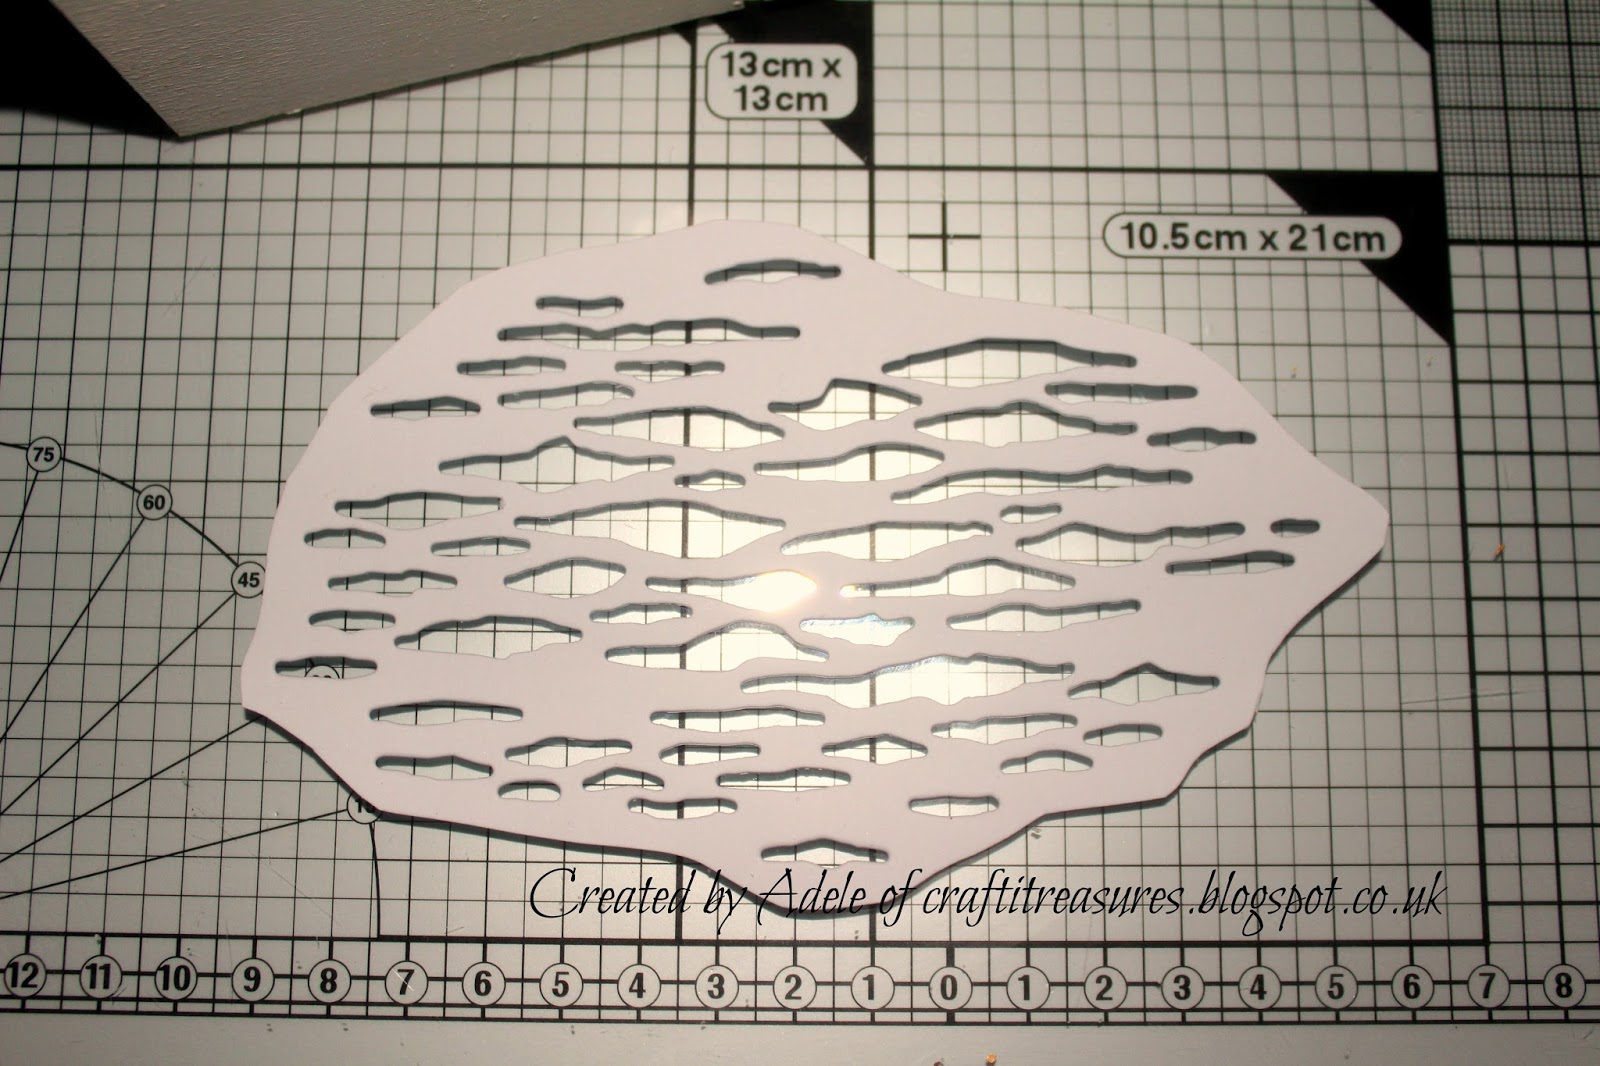
So this was the Water Lilly box I created. First I took the Cool Corrosion die and cut it out to use as a stencil. So you can also use it this way. :) As soon as I saw it, it reminded me of waves and ripples in water. You will have to throw it after afterwards but it's great to add pattern.
Cut out medium and small petals. Stamped and embossed with clear powder. Painted with white and lilac pearl Pebeo paints. The pink shade on the edge, highlighted with gold gilding wax.

Took one of the circles (a cut out from the middle of the Time Traveller goggles) I'd saved to use as a base and began layering the petals into the centre.

I also used the small Sheena petals that came with the Crafter's Inspiration magazine as I realized I needed some smaller ones too. It's great to have these as well. And you don't have to use the full stamp you can also put a pattern on the small ones by just positioning them in the centre. I also added small buds around the box as you can see from a previous post as the sides needed something to complement the top.

Earlier, I applied modelling paste through the die stencil, to all four sides and left it to dry, along with texture paste on the bottom to signify the stoney pond base. When it was ready, I began to paint my underwater scene with the Pebeo paints. The modelling paste gave the impression of ripples in the water.

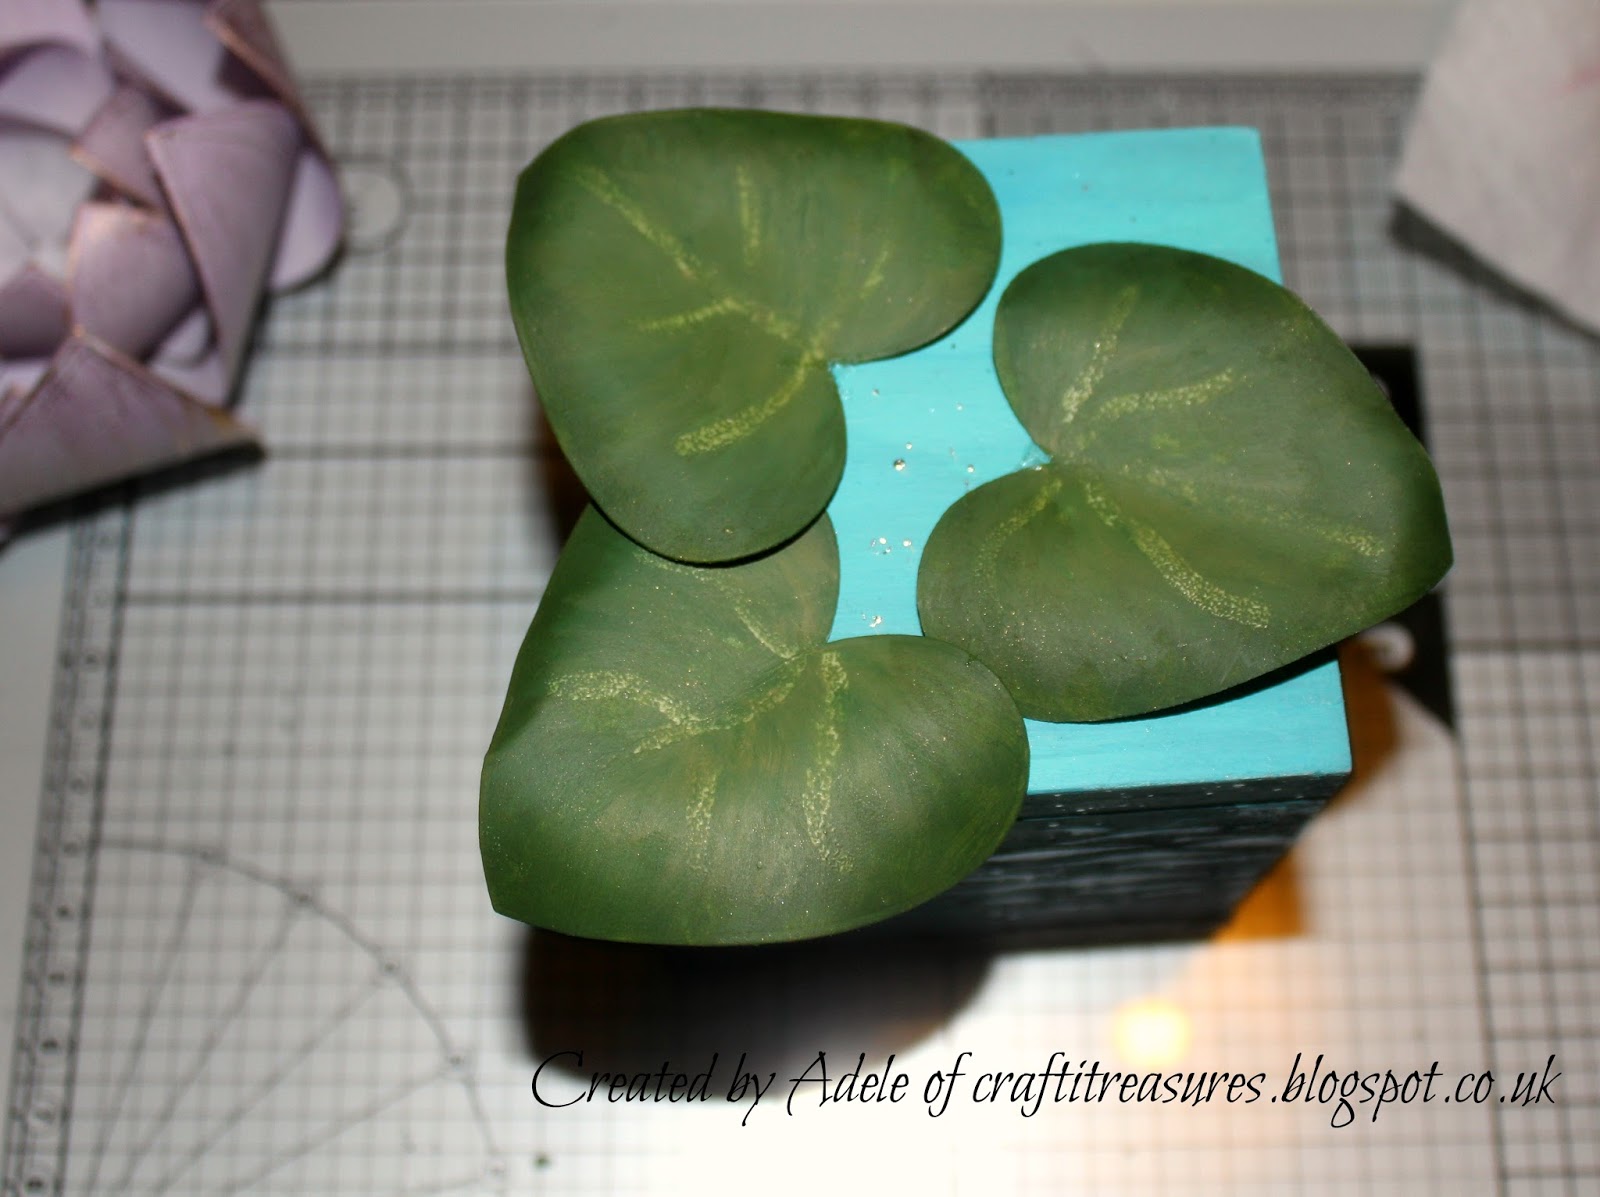
Added some leaves with Sara Davies heart dies as wanted a realistic shape for them.
I had some stamens and rubbed over them with gold gilding wax.

Took one of the Sensational Centres and another goggle circle, covered them with gilding wax and folded the stamens in half, securing them just slightly up from the fold.

Cut out the boingy thing, spiral, manipulated into a cone, sticking it to a goggle circle base again. It was then painted gold.

I fed the stamen stalks through the hole I'd made in the goggle circle. I trimmed the ends shorter after it was glued fast.

Then glued them into the cone I'd created to make a raised flower centre.

Don't forget you can also make a full stamen centre with paper and the die centres, multi- layered and scrunched. You could then glue these into a cone. :) For some reason I did not think of this at the time..lol... my brain was obviously full of too many other crafty ideas! But that's why we have a design team, lots of fabulous different ideas from everyone :)

The flower was added to the top.

But before I did that I flicked droplets of Pebeo foil glue on to the box and added silver highlights when it was dry. I painted the waves with the transfer gel, which can also be used as a varnish to add shine, to enhance them.

Canvas...
For this I added some canvas paper to a canvas as I wanted a shabby chic look and to add more interest and texture. It's hard to tear this because of the weave, so you have to do it with scissors, just don't do it straight and it will look more natural. :)

The Create a Flower stencils were then used with modelling paste to add pattern and texture. I applied texture paste into the torn gaps as I wanted it to look like the earth, that gives life to flowers, peaking through. Modelling paste was also added around the edges.

I'd added some paper cogs to the background, for more interest too, and painted these gold and also used the pebeo paints to colour the foliage.

I began to arrange my flowers and other bits. I had an idea of where I wanted them but it is always good to have a play before you add glue in case you wish to change something, or come up with another idea. I ran gilding wax over the edges of the canvas and the 'soil.'

Various different materials were used, faux leather, a tapestry style fabric, paper and more..

Hope you have enjoyed this post. Back soon with more tutorials. :)
T.T.F.N peeps
Adele
x
No comments:
Post a Comment