Just thought I would share with you how I created my samples for Sheena's new word stamps. These were a sell out on the shows and it's no wonder, they are amazing! This mix and match collection allow you to create your own sentiments. The team also combined them with texture embossing folders. The finished samples are further down in a previous post. :)
So, firstly, the hummingbird card with words..

Created a wash with the sparkle pens and then tapped spots on to the background in other colours of sparkle pen.

Took the brick wall embossing folder and then cut out the middle. Coloured with Distress Inks and then gold sparkle pen over the top.

Coloured hummingbird with Aquablend pencils, then highlights were added with clear sparkle pen. Added an extra decoupaged wing for depth.

Stamped and cut out flower, coloured with Aquablends again and sparkle pens. Tucked it in behind the bricks. Edge was glued down but I applied 3D glue underneath the bricks in the centre to make them stand away from the background. Stamped and added the fabulous new words from Sheena.
Believe with angel wings was created like this..

Distress inks on background,

Dropped water in the middle as I wanted to create a pattern that looked like something manifesting and coming forth.

Tapped sparkle pens and water into the centre and around so it would create patterns. Then added words and wings.
Fields of flowers

This was the background for the tall flowers. I wanted it to look like a hazy field of blooms in the background. This was created by wetting the background, adding a wash to the appropriate place and then tapping the sparkle pens over the top.

I cut out the Sheena flower dies and coloured them with Distress Ink.

Added a thin silver foil edge to the background. Applied 3D glue behind the flowers and tacky glue to the stem and arranged them on the background.

Stamped and cut out the new words, coloured with DI and then piped foil glue around the edge.
Bluebell wood

Used the woodgrain embossing folder, coloured with DI and then sparkle pens. If you see in the bottom right, I cut some parts away, so the black card underneath could show through, making it look like an old tree.
Leaf and butterfly card
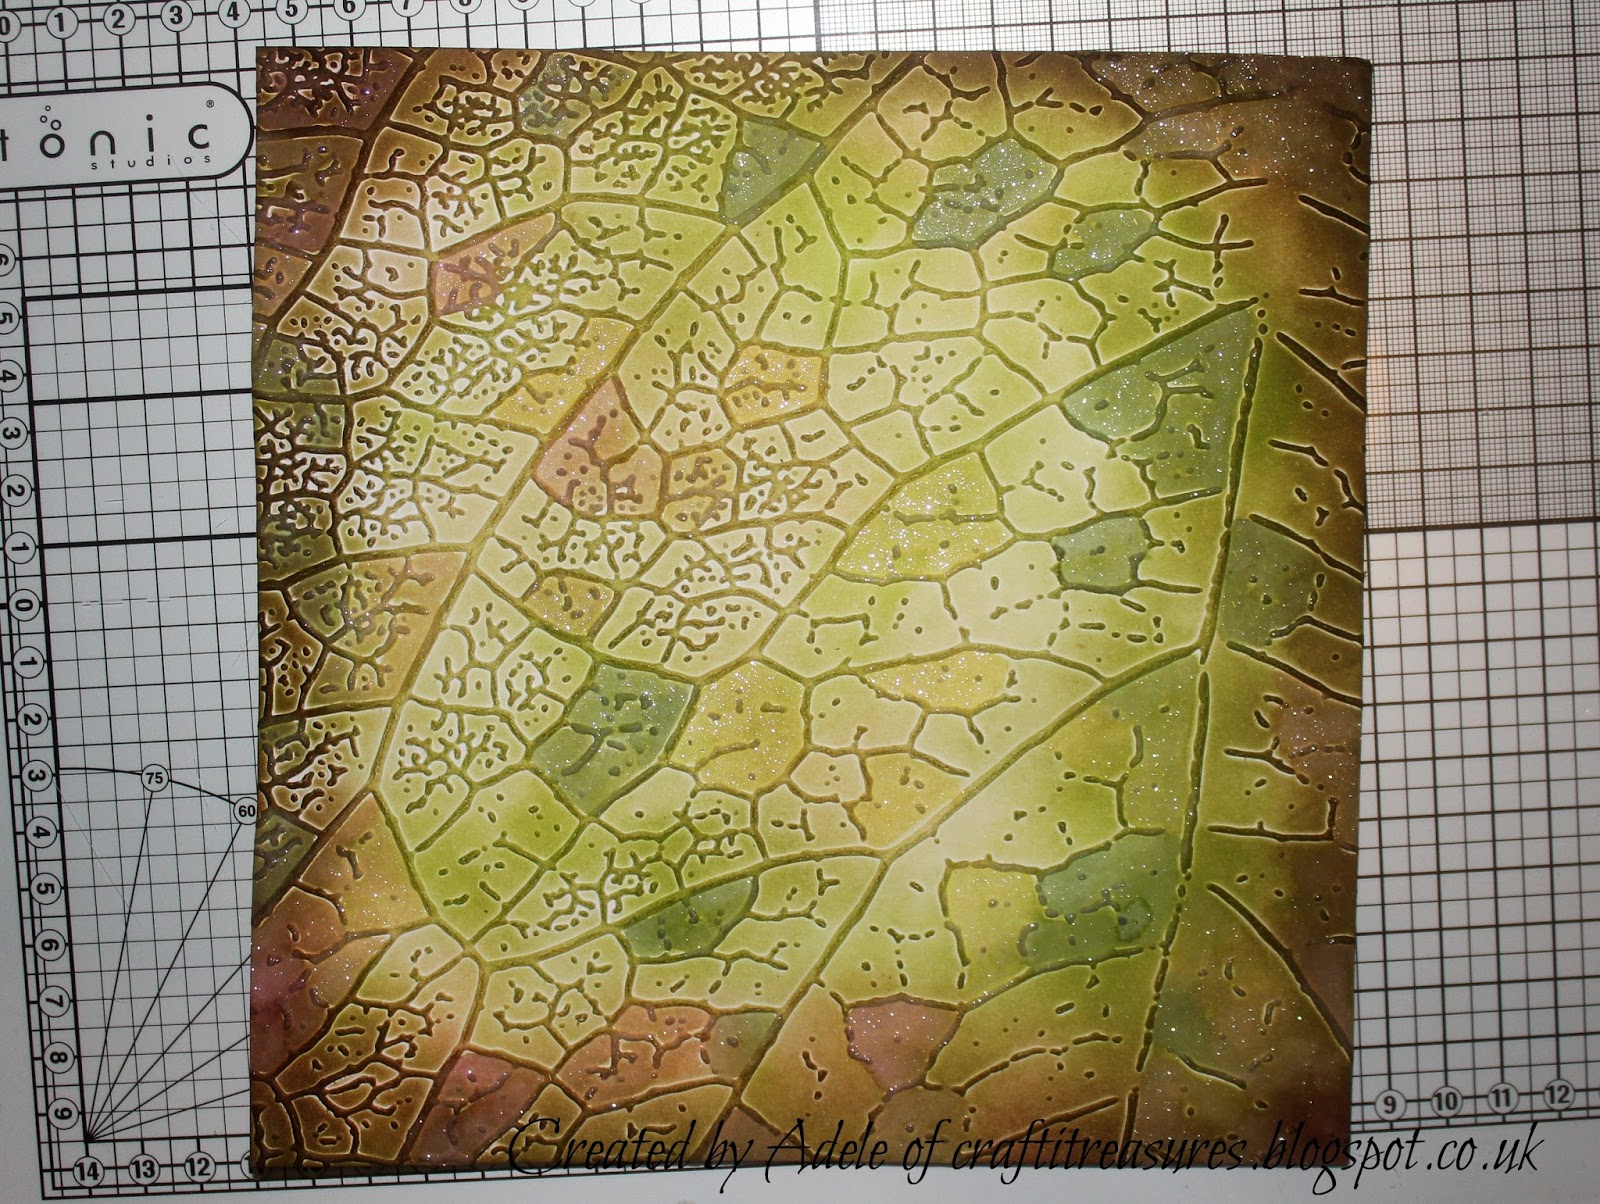
I love this folder too, I used distress on it and then went over the top with sparkle pens in sections, so selected parts of it would shimmer.
Wise words

For this card I die cut a shape for the sentiment. Wet the background and tapped sparkle pens on to it.

Added a wash over the top.

Created some mats and layers with Pebeo gilding wax. I stamped the chosen words, creating the sentiment and added some honesty flowers from Sheena, as you can see, I thought they fitted the sentiment well. The background was the bricks coloured with gold sparkle pen. I wanted the words to really pop out of the centre of the card.

Tell your own story.

I made this as I really wanted you to see how you can create a really positive statement with these words as they work together so beautifully. You can really tell a story, and design a piece of wall art to lift the spirits. I embossed the different folders, cut or tore them into sections and stuck them to a canvas.

It was painted with Pebeo matt paints and then clear sparkle pen over the top. The words used a mixture from the sets. They were stamped, cut out and given a gold foil edge and then stuck to the canvas with wither 3D glue or tacky as I wanted some to stand forward more. So I ended up with this..

So that's how it was done, if you would like to play too. I'll be back with more updates soon. :)
T,T.F.N
Adele
x
I just sooo love your work Adele. It's nice to see how the cards come together. I especially like your collage of words, such a good idea.
ReplyDeleteThank you Julie :D You are very welcome. I know I see things made myself and like to know how it's done, so happy to share. :)
Delete